“How do I plant bare root trees?” a friend asked me the other day.
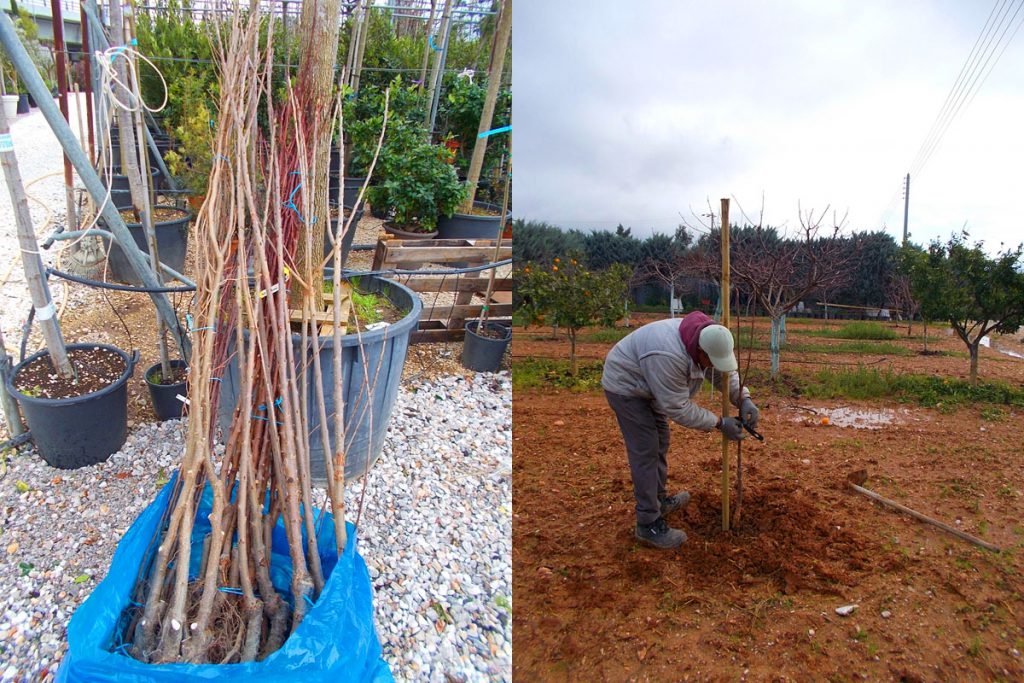
Suitable bare root trees for this kind of planting are woody fruit trees and ornamental deciduous trees, such as: Almond trees, Peach trees, Cherry trees, Pear trees, Constantine Acacia, Linden (Linden) trees, Mulberry trees, Maple trees, etc. These are the trees that can be found as bare root trees in nurseries.
Bare root trees are a good and economical choice compared to container nursery trees. They also have the advantage of being easy to transport. So you can order them from distant nurseries via the Internet and have them delivered to your place packed. This way you have more choices and you are not limited to the trees you can find at a local nursery.
Suitable season
The right time to plant bare root trees is from December to February (depending, of course, on the region), as long as we have low temperatures. If we see that the maximum temperature exceeds 10 degrees Celsius, it is advisable to avoid the planting process.
Preparation of the ball root tree for planting
Make mud
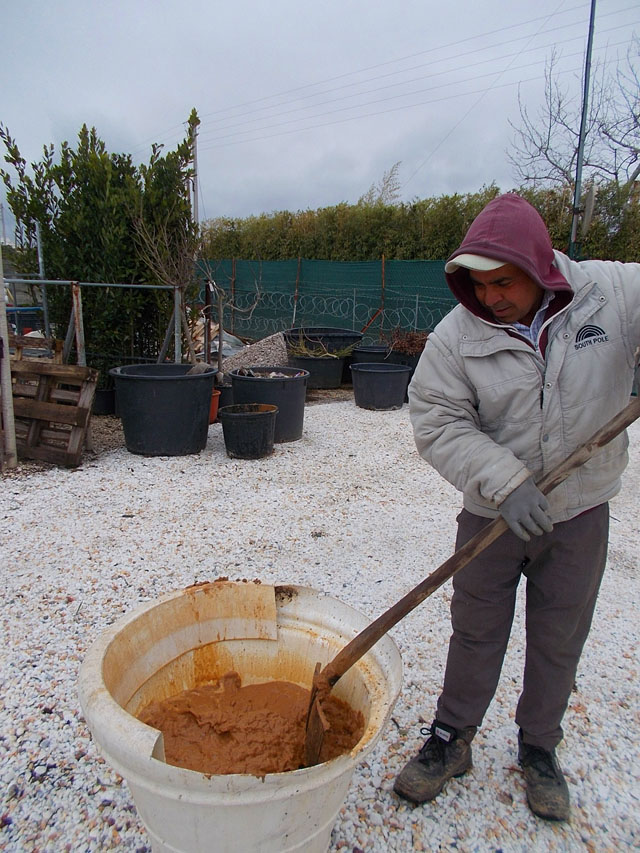
Starting our process of planting our bare root trees, we make mud. We take a fairly large pot or bucket. Put in red soil and water and mix well to make our mud.
We cut off the ends of the roots
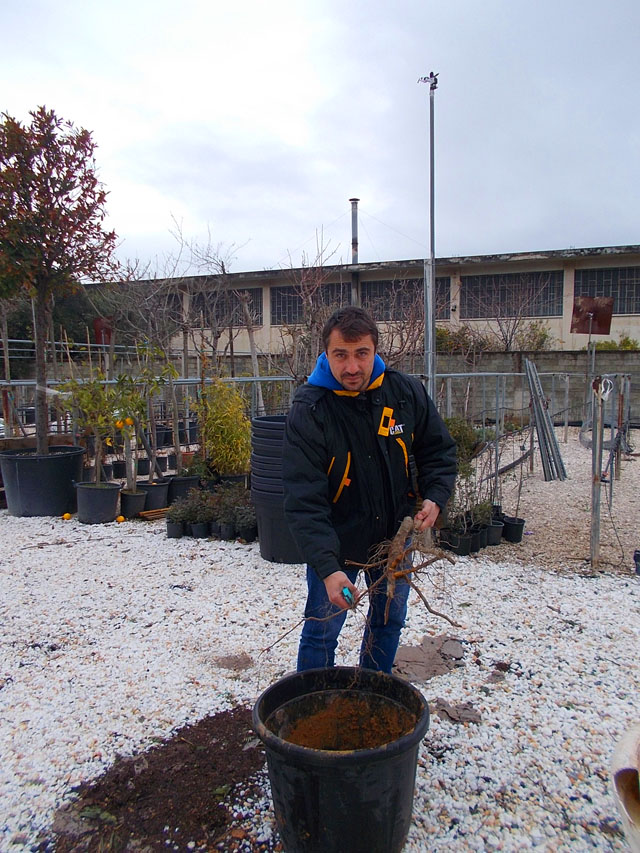
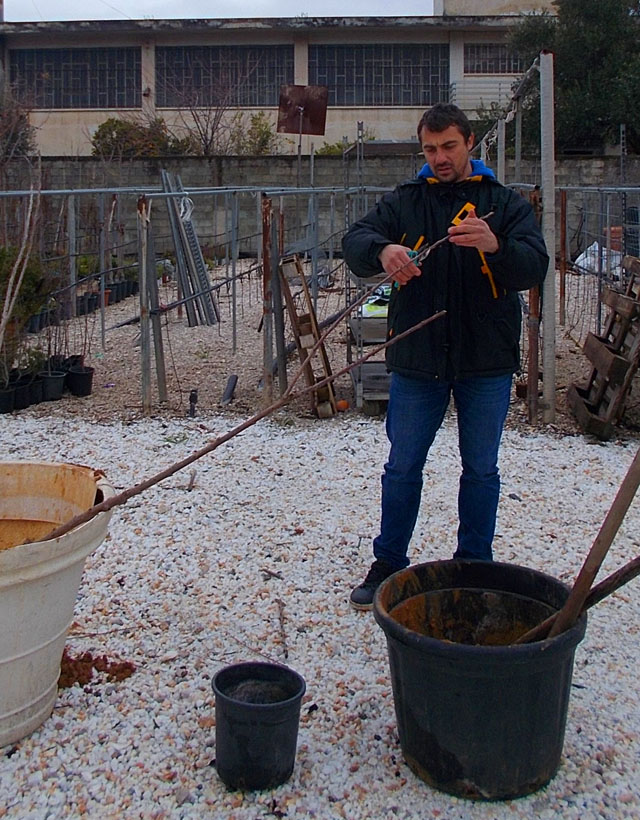
Cut off a large percentage of the tree’s roots with well-sharpened and disinfected pruning shears. We do this to renew the roots and also to remove problematic and dry roots.
Dip the roots into the mud
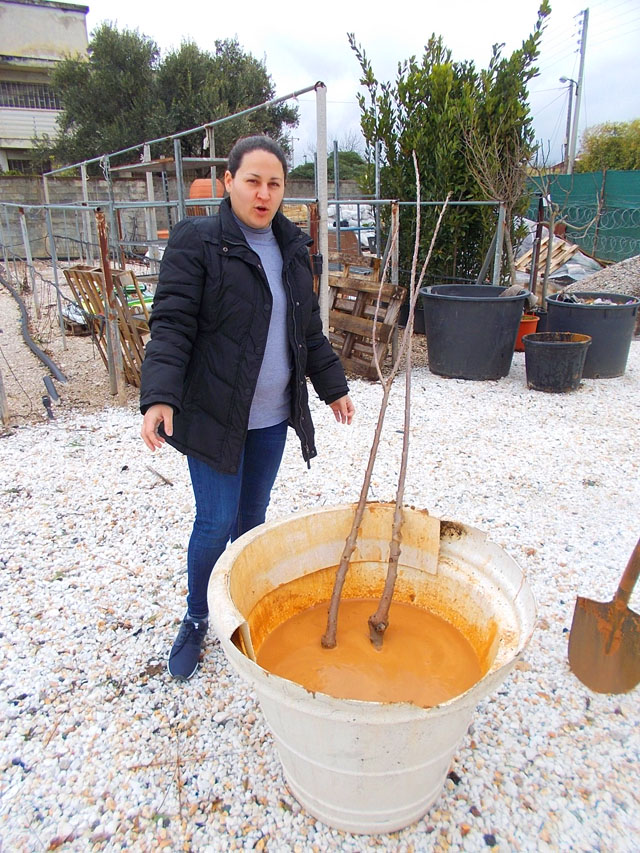
We dip the roots of the tree into the mud. We will stir carefully so that the mud goes everywhere. What we want is for the mud to cover the roots so that they hold moisture and don’t get air until they are planted and driven to dry out.
We prune the tree
The next step is to take the tree and prune it severely. Firstly to give strength to its root system and secondly to start shaping our plant.
Planting process
Now we can take each tree we have prepared and plant it in the garden or even in a pot.
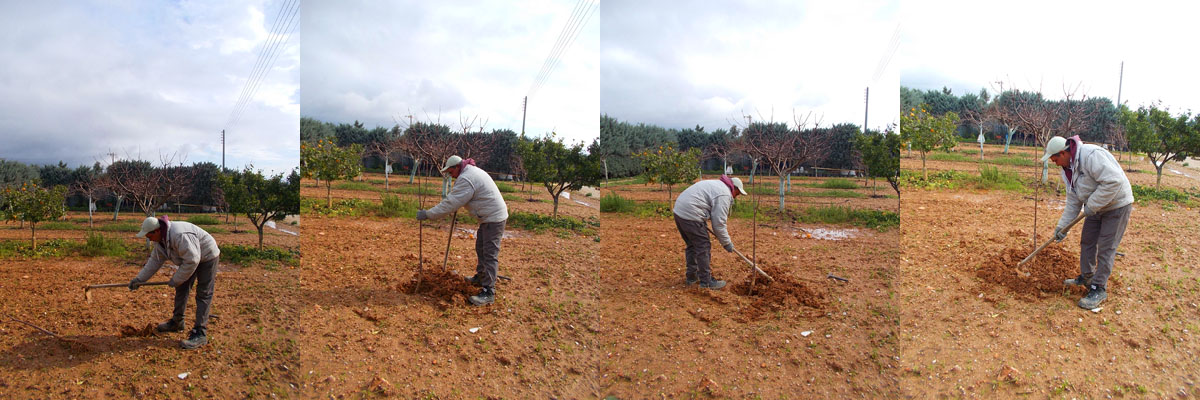
We dig a hole and plant the tree
We open a hole in the garden or field and put our tree in it.
The diameter of the pit should be slightly larger than the root of our tree (after pruning) so that it is well covered and not exposed outside.
The depth of the pit should be such that the graft (the point where the rootstock is grafted to the tree) is exposed. Graft should not be covered by soil.
We should not bury the graft because in this case it may rot our tree!
Tree fixation
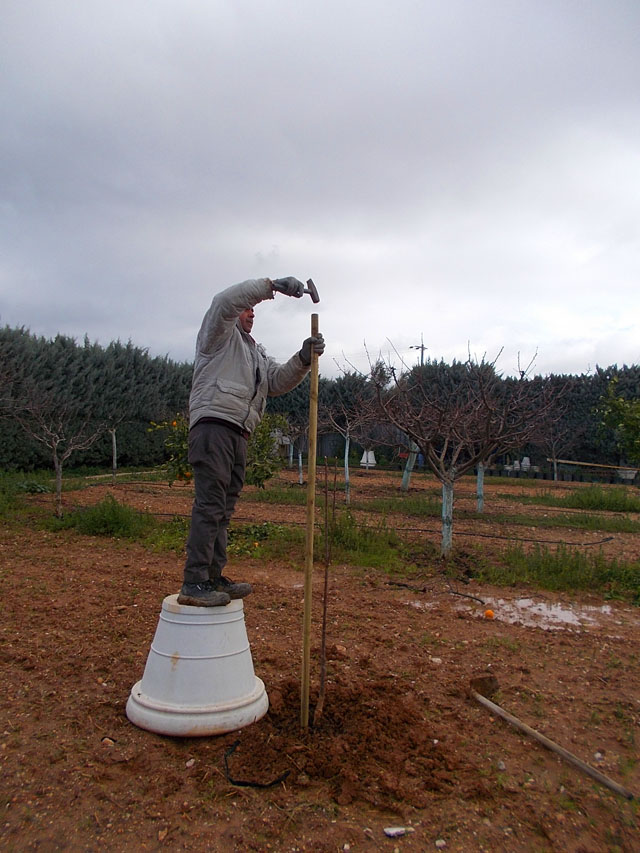
Nail a fixing stake next to the tree
We place a stake next to the tree. We will secure the tree to the stake so that it will not sway in the wind.
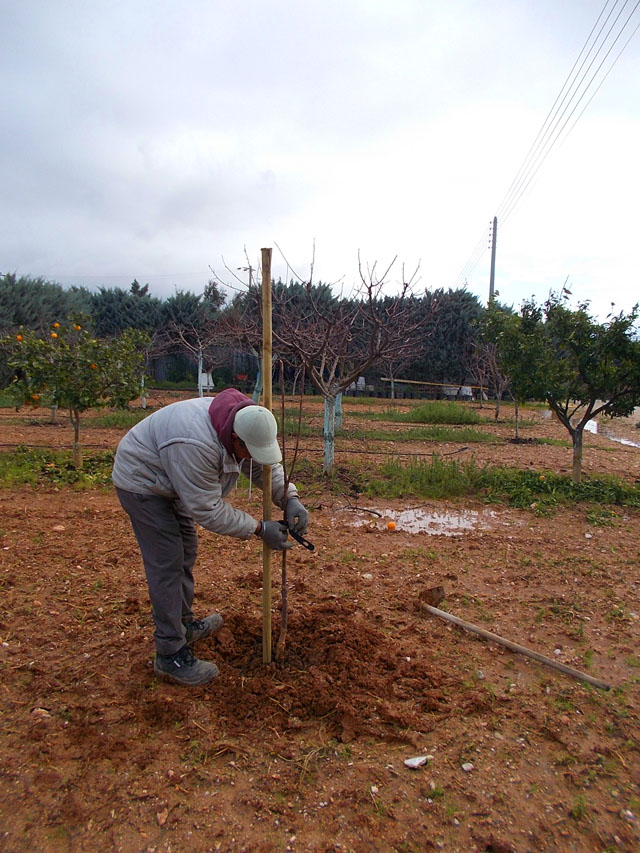
We fix the tree to the stake
Tie the tree to the stake with a rubber band (be careful not to injure it).
Cutting and initial fertilisation
Make the familiar keel around the tree with a hoe or hoe pick. (A keel is the perimeter pit we form to keep water within the root of our tree). This keeps the water from escaping and keeps it close to the roots of the plant.
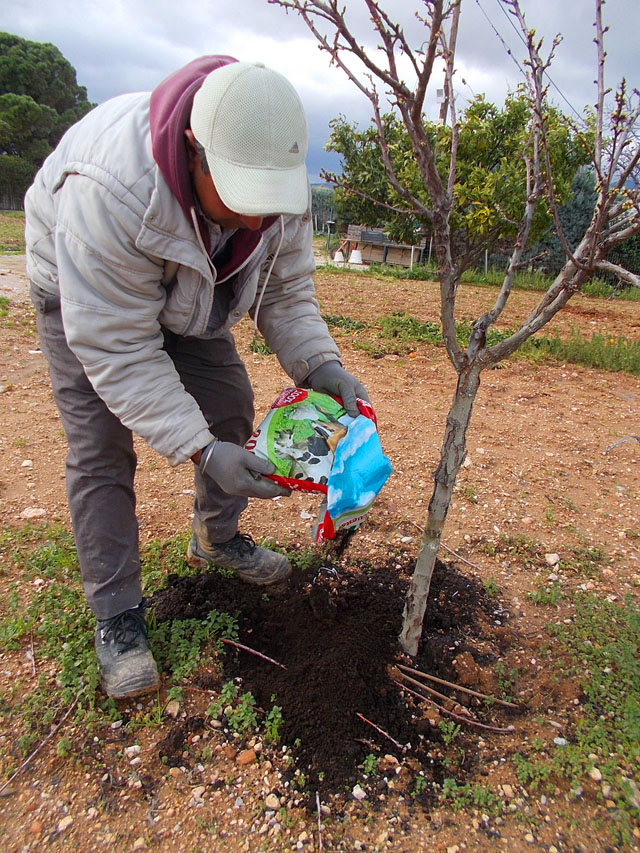
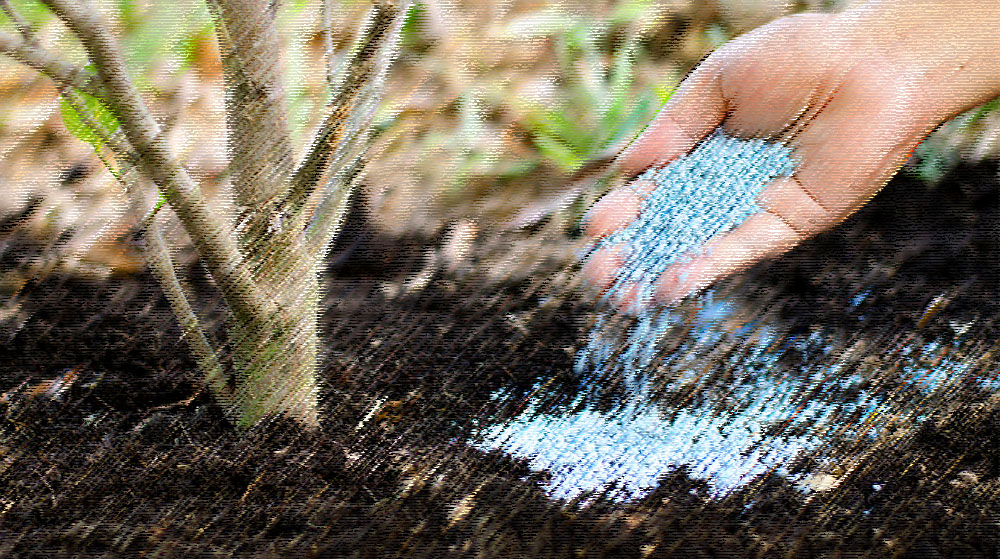
Pour manure all around
Pour manure all around the keel (being careful not to let it fall on the trunk of the tree) and finally, lightly poke around to mix the manure with the soil.
Water carefully with water without pressure.
Good luck!!!
The article was edited by the agronomists of the company “Horomides”
The article was edited by the agronomists of Horomidis Agricultural Enterprises, Panagiotis Basiotis Panagiotis and Irini Phytas.
Horomides Agricultural Enterprises has been active in the greenery sector since 1947, having in its nursery a full range of ornamental and fruit plants, as well as a unique range of potted plants from companies such as serralunga, euganea, teraplast.
Tags: CHOROMIDIS • I PLANT • TREES

